
Queen's Domain Tower of Knowledge Walkthrough Guide
Walk the Tower of Knowledge in Queen's Domain: unseal the door, Gargoyles 3 and 7, Storm Gem, rotating stairs, Budaen, Forbidden Archives, and the Necronomicon.
FAQ
How do you unlock the Tower of Knowledge door in Queen's Domain?
Which gargoyles solve the indoor Tower of Knowledge puzzle?
Where is Knowledge Keeper Wourha in the tower?
Where do you get the Storm Gem in the Tower of Knowledge?
Who is the boss of the Tower of Knowledge?
This Tower of Knowledge walkthrough for Queen’s Domain covers the three-beacon door, the Gargoyle 3 and 7 balcony puzzle, the Storm Gem, and the climb to the Necronomicon in the Forbidden Archives. If the door is still sealed, finish the Obmuer Temple walkthrough route first.
The Tower of Knowledge is Queen’s Domain’s library dungeon: status-heavy enemies, a numbered gargoyle balcony, Knowledge Keeper Wourha, the Storm Gem, and boss The Necronomicon. There is still no in-game map—use monument saves and the compass. Prerequisite beacon work is summarized on Obmuer Temple and Isle of Neasied; pick up the Azure Torch on the eastern tower approach during the island loop.
When Does the Tower Door Actually Open?
The entrance plaque requires three outdoor gargoyle beacons lit with azure flame, sending fire to obelisks until the colossal bell rings three times. Only then do the three blue gems above the door activate.
| Beacon | Reported landmark (two sources) |
|---|---|
| 1 | Broken stair ruin above pillar hops near the second Wind Gem route (Isle) |
| 2 | Upper exit stair alcove after Dagoom (Obmuer surface) |
| 3 | Return via fast-travel spire to Isle of Neasied, third gargoyle past Chef Gagi gate |
If the door stays sealed, finish beacon 2 and 3 before blaming an interior puzzle—outdoor and indoor gargoyles are separate systems (puzzle solutions).
What Is the First Route Inside the Tower?
Expect Book Bugs, animated gargoyles, and ranged status attackers. Bring charged Azure Torch fireballs and throwing weapons; restock at save and fast travel shop trips between monuments.
Leave screaming faces and fleshy growths alone on the first pass—they need the Acid Vial after the Necronomicon.
Reach the numbered-statue balcony with three clue plaques (one partly buried in rubble). Light Gargoyles 3 and 7 only; incorrect torches can trigger fights.
Return through the newly opened interior passage, clear rooms to the next Crystal Monument, and continue up the stairwell toward Wourha’s study and an upper fast-travel point.
How Do You Reach the Storm Gem and Rotating Staircase?
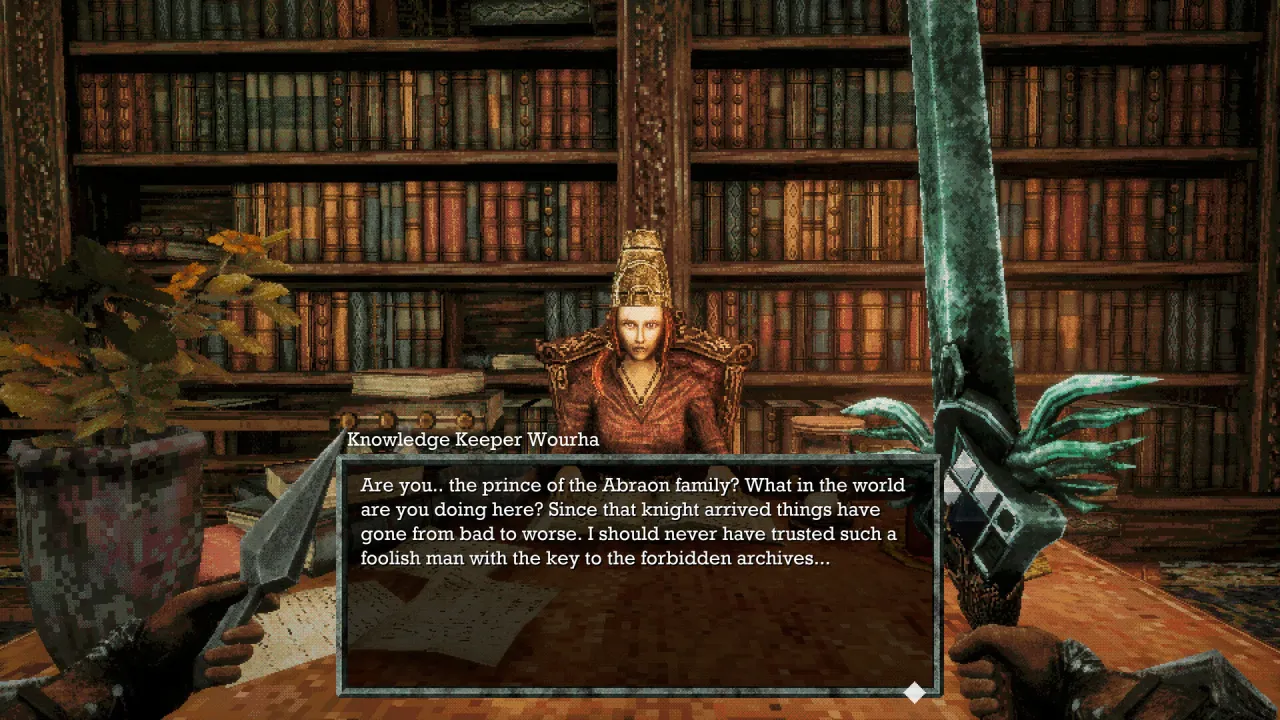
After the balcony puzzle, follow the stairwell toward Knowledge Keeper Wourha—dialogue on official screenshots references Prince Abraon and knights carrying forbidden archive keys.
Climb the large staircase near her study to pick up the Storm Gem, which unlocks Raging Tempest on Holy Sword Endu. The upper floor looks like a dead end with locked doors; progress sits below the gem platform.
- From the Storm Gem ledge, Wind Dash down to a lower opening beneath the platform.
- Flip the rotating staircase switch beneath the Storm Gem platform.
- Climb the repositioned stairs, find the elevator on the new alignment, ride down to Budaen.
- Speak with Budaen to receive the Forbidden Archives Key.
Save at the monument before entering the Archives sequence—status effects drain healing items quickly.
What Happens in the Forbidden Archives?
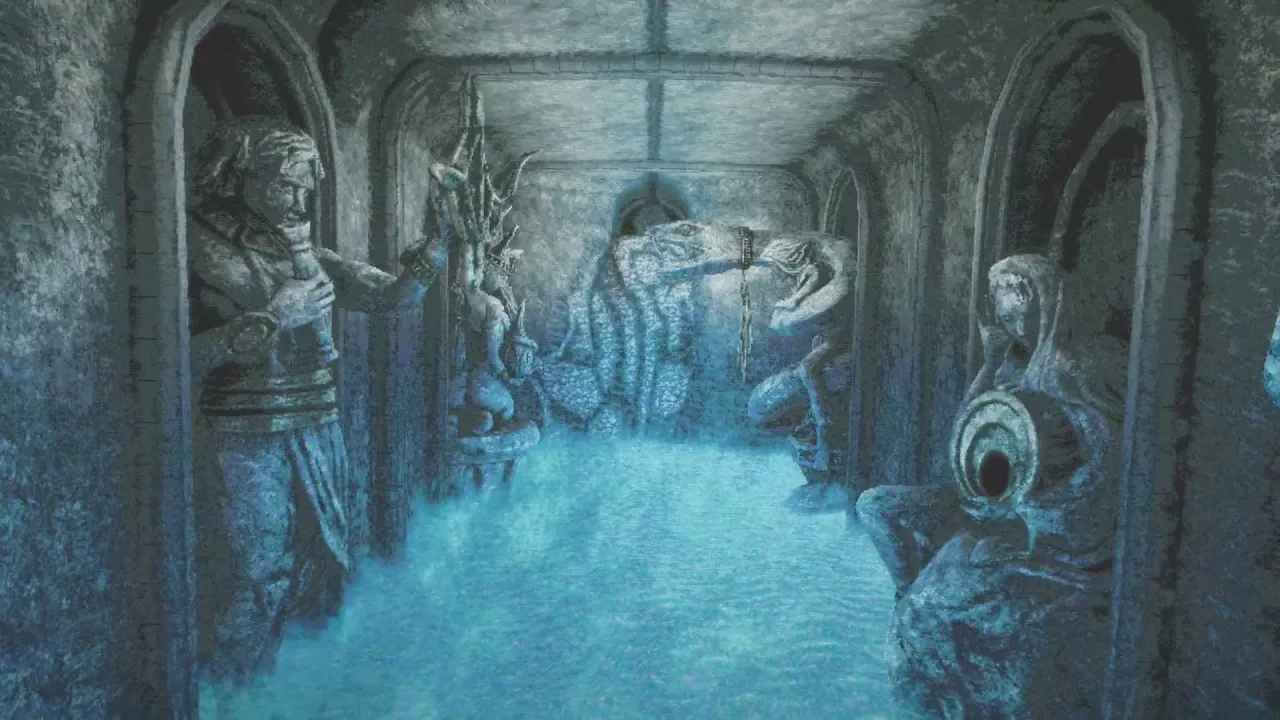
Use Budaen’s key on the locked doors back near the Storm Gem upper section. The Archives corridor escalates enemy density—enter with healing reserves rather than zero Elixers.
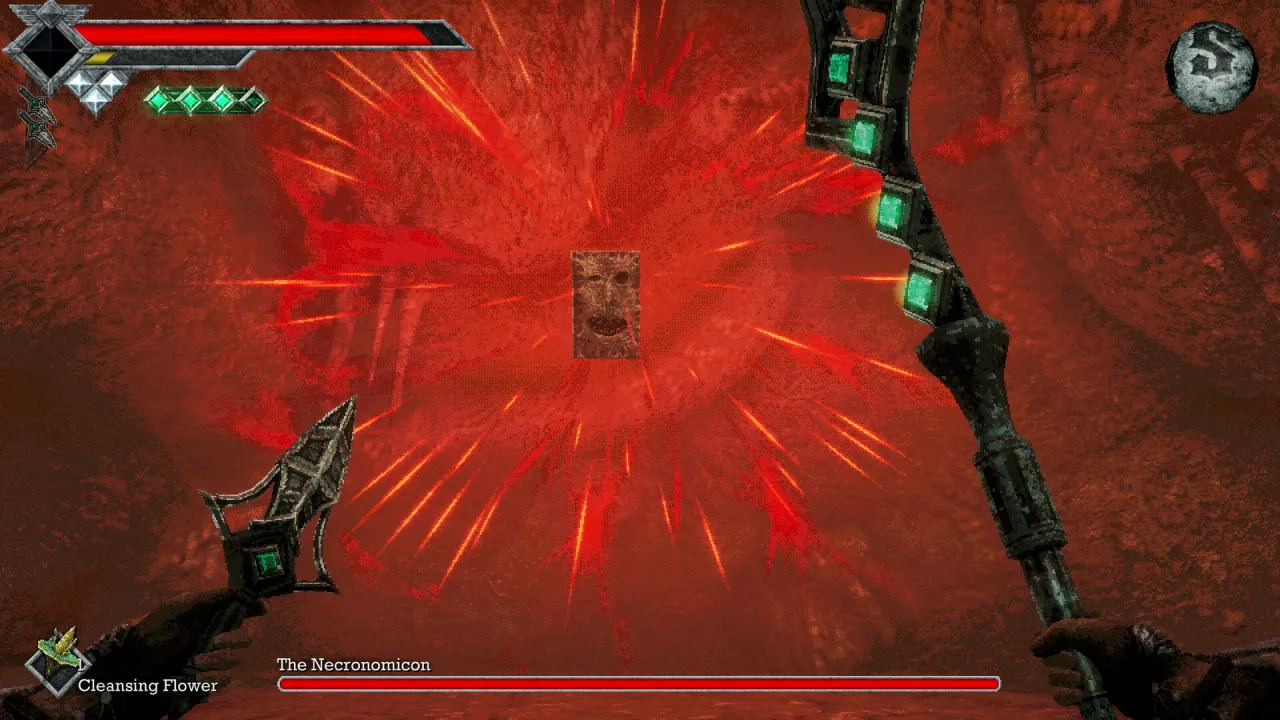
The main boss at the end is The Necronomicon—a ranged, status-heavy fight unlike the Shrine Guardian melee pattern.
Launch-week boss guidance:
- Stay at throwing range while the book form pelts status attacks.
- Close for short melee bursts when the book drops or collapses accessible.
- When a goat-like form appears, disengage until the book returns.
- Heal after creating distance, not while face-tanking ranged volleys.
What Rewards Change the Rest of the Tower?
On defeat, guides document:
- Acid Vial — automatically coats throwing daggers to melt fleshy barriers and screaming-face walls you skipped earlier.
- Golden Duck Figurine — deliver to Umbada’s shop to expand inventory (figurine collection achievement chain on GameFAQs).
- Hell Transcribed achievement trigger (Steam/GameFAQs naming).
Return with acid daggers to open optional side passages. After the fight, Budaen is dead and an acid-vulnerable growth blocks the route toward Deimpo Mausoleum—the mausoleum tied to the injured Knowledge Keeper note on the isle bridge collapse.
Where Does the Tower Walkthrough End?
As of launch week, the immediate post-boss goal is clearing acid blockers and pushing into Deimpo Mausoleum (not yet walkthrough-covered here). Revisit Wourha’s floors for A Lifetime’s Work and Sparkling Clean achievements once you have acid access.
Cross-links: Wind Gems for dash count before the rotating switch, weapon tier list for torch and throwing setups, achievements for tower-related trophies.
Sources
- Whisper of the House — Tower walkthrough — interior route, Storm Gem, Budaen, Necronomicon, post-boss acid route
- Tpose Gaming — Puzzle guide — outdoor beacons, gargoyle 3+7
- GameFAQs — Achievements — Endless Pages, Hell Transcribed, tower cleanup trophies
- Steam store page — Wourha dialogue screenshot
Information matches 2026-11-02 launch-week sources; report errors to [email protected].
Related Articles
bosses
Queen's Domain Dagoom the Sea King: Boss Fight Guide
Dagoom the Sea King boss in Queen's Domain Obmuer Temple: Royal Guard gates, poison pools, Toxic Serfs, rewards, and Treacherous Baleen achievement.
bosses
Queen's Domain Necronomicon Boss: Tower Fight Guide
Beat The Necronomicon in Queen's Domain: Forbidden Archives location, book and goat phases, throwing weapons, Acid Vial, Hell Transcribed, and rewards.
guides
Queen's Domain Puzzle Solutions: Books, Doors, and Keys
Sourced Queen's Domain puzzle solutions by area—Crypt dagger switch, Gargoyle beacons, slates, Trident keys, Tower books, and secret walls.
Was this helpful?
Thanks for the feedback!