
Queen's Domain Puzzle Solutions: Books, Doors, and Keys
Sourced Queen's Domain puzzle solutions by area—Crypt dagger switch, Gargoyle beacons, slates, Trident keys, Tower books, and secret walls.
FAQ
How do I solve the Queen's Domain book puzzle in the Tower of Knowledge?
How do I open the Tower of Knowledge front door?
Where are the four Triangular Slates for Obmuer Temple?
How do secret doors work in Queen's Domain?
What blocks a puzzle if nothing happens?
Queen’s Domain rarely labels its locks. Instead you get a sealed door, a clue plaque, or a wall that looks wrong until you throw a dagger, light a Gargoyle, or press interact. Below is a region-by-region list of documented solutions from launch-week walkthroughs and verified Steam discussion threads as of 2026-11-02—not a guess at every lever on the isle.
For movement upgrades tied to these gates, see Holy Sword Endu and Wind Dash and save points plus fast travel. Obmuer Temple combat between puzzles is covered in the Obmuer Temple walkthrough.
How Should You Approach Puzzles on the Isle of Neasied?
Most early blockers are either a diamond dagger switch or a hidden wall. Island walkthroughs describe throwing a dagger into the diamond-shaped hole beside Crypt doors to open them without a conventional key. Inside you recover the Endu Shrine Gate Key, which leads to the Shrine Guardian and the first Wind Gem.
Hidden walls use the same interact prompt as objects (default E on PC per Steam players). Press interact when the crosshair lights up on a suspicious surface. The Concealed Passages achievement requires opening every secret door; progress there is the best island-wide checklist when you are unsure a wall was real.
Crypt Dagger Switch (documented)
| Step | Action |
|---|---|
| 1 | Obtain throwing daggers (Dagger Belt on the shipwreck islands east of the monument fork). |
| 2 | At the Crypt clearing northwest of the first Crystal Monument, aim at the diamond-shaped target beside the stone doors. |
| 3 | Throw a dagger into the target; the door opens. |
| 4 | Inside, collect the Endu Shrine Gate Key from the central burial area and use it at the Shrine of Endu. |
What Opens the Tower of Knowledge?
Two different Gargoyle systems apply: three outdoor beacons for the Tower front door, and numbered indoor statues after you are inside.
Three outdoor Gargoyle beacons
Plaques beside the Tower entrance state that azure flame must reach three beacons, which light braziers and ring the colossal bell three times before the Tower unseals.
| Beacon | Documented location |
|---|---|
| First | Broken stairway above the pillars near the second Wind Gem; blue lantern landmark, skeleton guard |
| Second | North of the upper elevator route from the elevated area above the first Crystal Monument; alcove by a sea-facing locked gate |
| Third | Along the exit route from Obmuer Temple after Dagoom the Sea King |
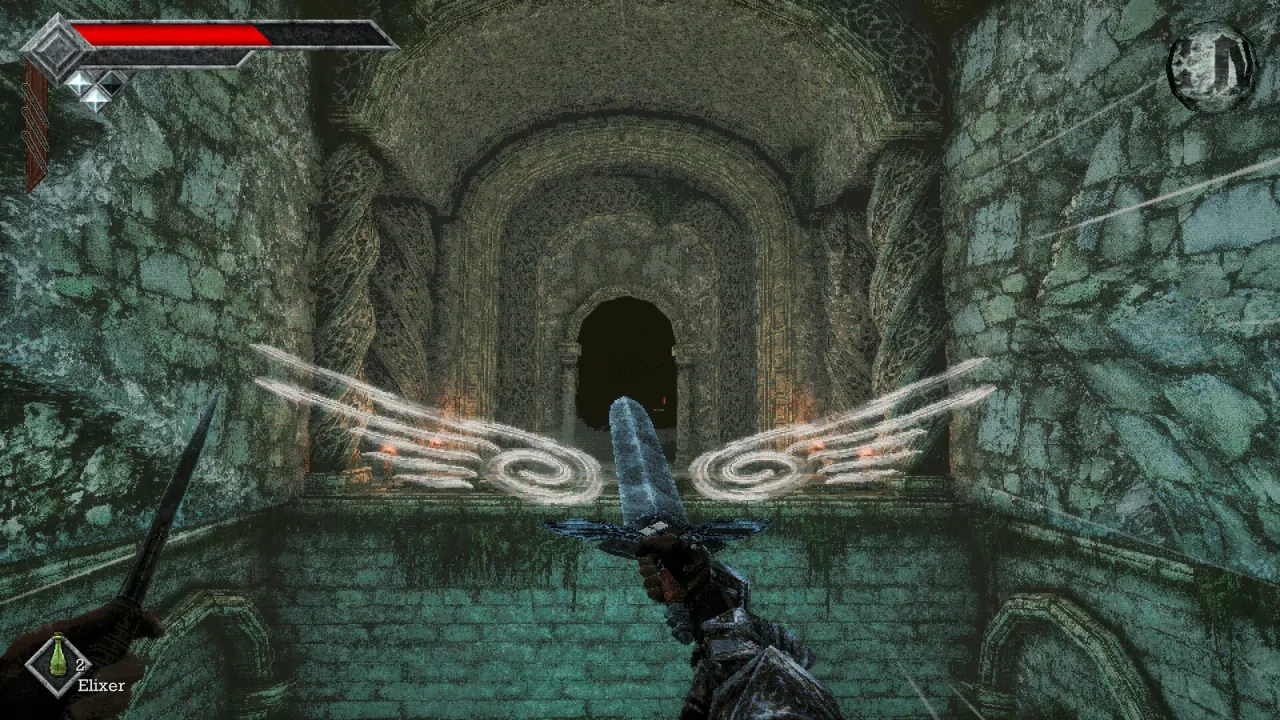
Equip the Azure Torch (found at the Tower eastern approach during the isle loop) and swing it at each Gargoyle mouth. Return to the Tower only after the third bell.
Numbered Gargoyles inside the Tower
On an interior balcony, numbered statues and three clue plaques appear (one partly buried in rubble). The documented solution is to light Gargoyles 3 and 7 with the Azure Torch, which opens a nearby passage. Wrong statues can spawn enemies in the area.
Rotating staircase and Forbidden Archives
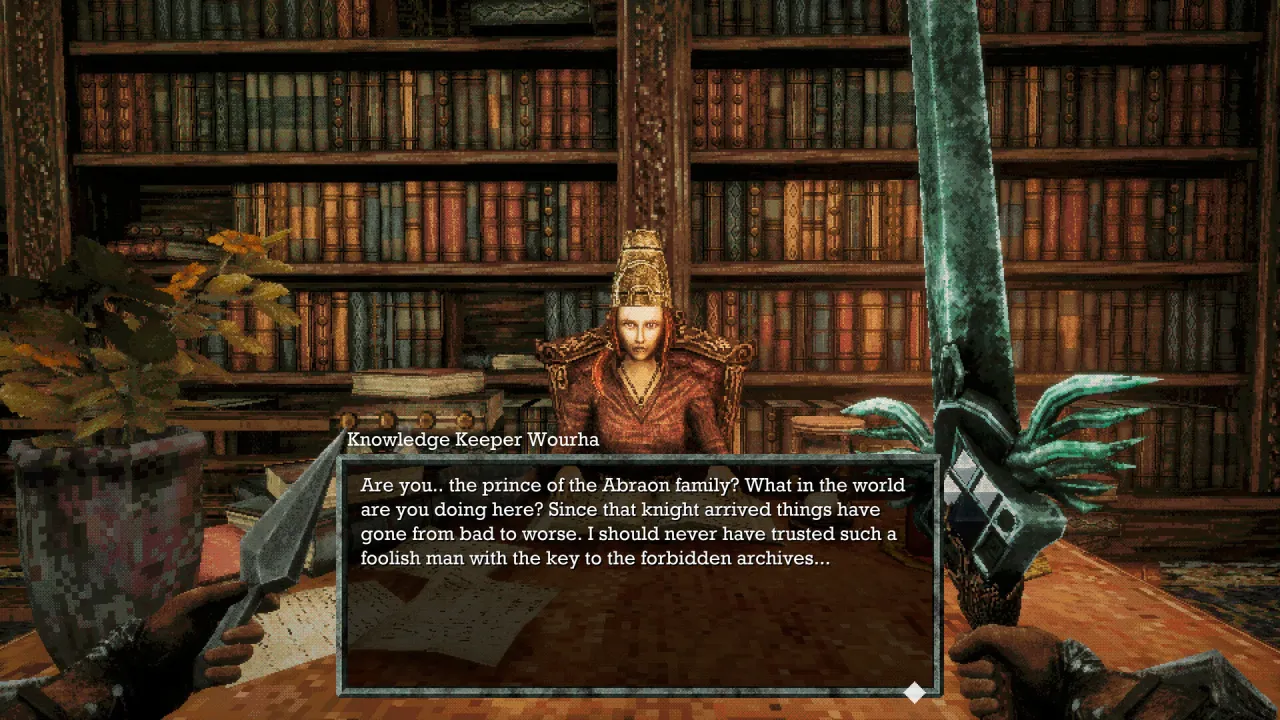
After you collect the Storm Gem on its platform, an opening below the platform is reachable with Wind Dash. Hit the wall switch there to rotate the staircase, ride the new route to an elevator, and speak to Budaen for the Forbidden Archives Key. That key opens the Forbidden Archives door on the blocked-path checklist.
What Are the Obmuer Temple Slate and Trident Key Puzzles?
Four Triangular Slates (entrance door)
The sealed Obmuer Temple door needs four Triangular Slates from the flooded western ruins. Cross the western broken bridge with two Wind Dashes, then gather:
| Slate | Where walkthroughs place it |
|---|---|
| 1 | Raised stone by the circular pool with small red fish, near skeletons |
| 2 | Elevated ruins west of the first slate, via collapsed walls |
| 3 | Lower western section beneath the elevated route, near the wall-mounted Trident |
| 4 | Isolated broken column mid-ruins, Wind Dash reach |
Insert all four into the temple entrance sockets, then continue the Obmuer Temple walkthrough for interior keys and Dagoom.
Trident Key locks (main route vs optional gate)
Trident Keys fit socket locks and, for the main route, Sapphire and Emerald keys are reusable once the path allows you to retrieve them.
| Lock | Documented setup |
|---|---|
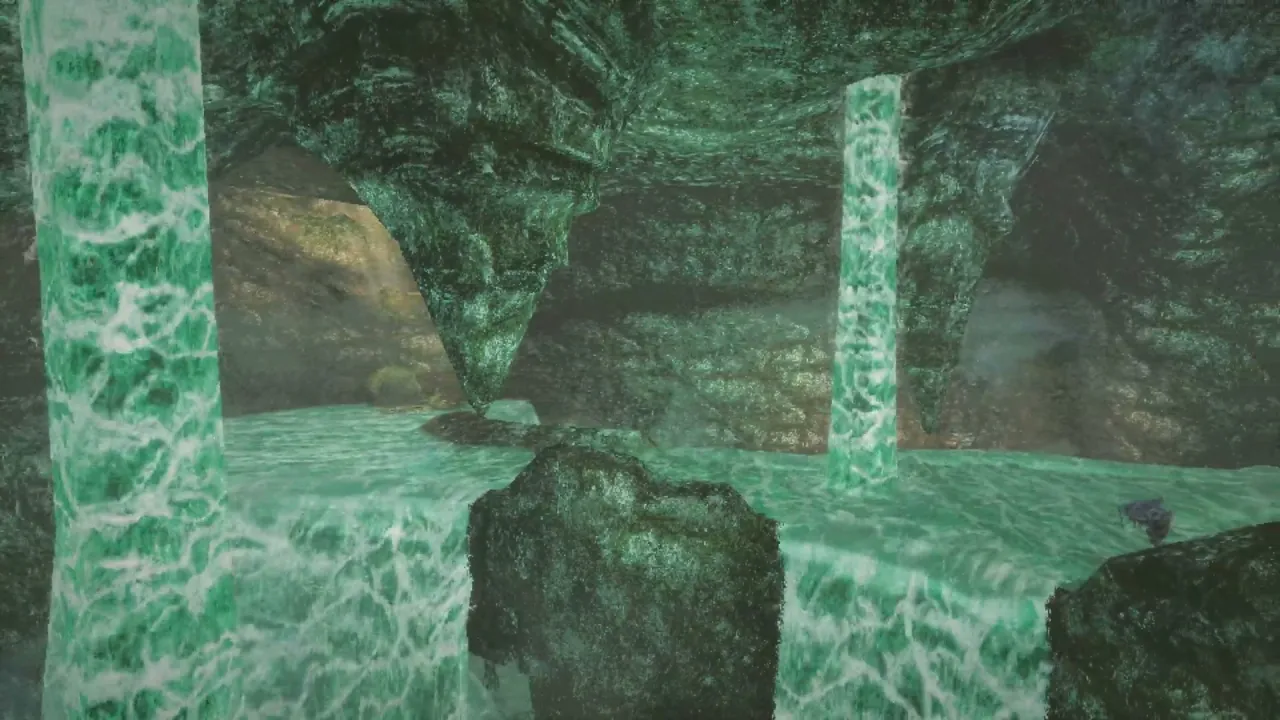
| Single-key gate | Sapphire Trident Key embedded in an early flooded cavern wall; insert at the nearby one-slot door |
| Sacred Cistern route | Emerald Trident Key near stairs via a wall opening below the large pit by the second Crystal Monument |
| Three-key treasure gate | Optional Engraved Halberd route—not the main boss path. Needs three keys total; third key comes from max-leveling the Trident (head breaks off as a key) or buying one from Umbada after clearing the Tower boss |
Walkthroughs also note a two-key door at the end of the southwestern prison tunnel (treasure chest route) and a secret passage opened by interacting with the solid wall at the end of that southwestern tunnel.
How Does the Tower Book and Library Cleanup Work?
Achievements I’m Not Paying the Late Fee (return all lost books) and Sparkling Clean (clean the Tower) tie directly to post-Necronomicon exploration. No launch-week walkthrough yet lists every book coordinate; verified Steam discussion from October 31, 2026 reports:
- Interactable books blend visually with props; search hidden walls and side rooms, including past the pitfall on the second floor toward the basement route.
- Basement meat cleanup: from the pitfall room, at the top of the staircase, Wind Dash toward the far wall where you entered; an entrance shows through bookcases around the corner on the same floor (Mightythorn, Steam).
- Golden gate under the last-floor staircase: insert any book into the slot; players used End of Epha but report the title does not matter, and the book can be removed afterward (Mightythorn, Steam).
The isle route mentions a replacement book storyline tied to Deimpo Mausoleum via an injured Knowledge Keeper note—that is quest context, not a full shelf-by-shelf solution list.
Where Are Documented Secret Doors and Hidden Walls?
| Location | What walkthroughs report |
|---|---|
| Obmuer Temple prison side tunnel | Interact with the solid wall at the end of the southwestern tunnel to open a secret passage |
| Isle of Neasied early areas | Steam players report three early hidden walls (Crypt holy-sword key room ×2, beach skeleton pointing at a wall). Treat these as player-reported until a second walkthrough confirms each spot. |
| Tower of Knowledge | Steam threads emphasize hidden walls for books and basement access rather than a single “secret door” list |
Use the in-game Challenges menu or the Concealed Passages achievement to see whether secret-door progress is incomplete.
What Looks Like a Puzzle but Is Still Unconfirmed?
Launch-week sources agree on the table above but do not yet publish complete solutions for:
- Every lost book shelf location for I’m Not Paying the Late Fee (only partial player tips).
- A full island secret-door atlas (achievement exists; community is still mapping).
- Petrified Garden, Siraatsu Castle, or late-game lever chains without duplicate walkthrough coverage.
- Specific book title for the golden gate (community consensus: any book works).
If a mechanism fails after you meet the listed requirements, PC patches 1.01.01 and 1.01.02 fixed progression bugs reported at launch—update the game before assuming the puzzle changed.
Sources
- Tpose Gaming — Puzzle guide — blocked-path gates, outdoor beacons, gargoyle 3+7, Trident keys
- TechRaptor — Isle of Neasied walkthrough — Crypt dagger switch, Azure Torch, first beacon
- TechRaptor — Obmuer Temple walkthrough — slates, prison secret wall, Trident locks
- Whisper of the House — Tower walkthrough — rotating stairs, Archives key flow
- Steam Community — Tower book tips — golden gate “any book” and basement Wind Dash route (player-reported, October 2026)
Information reflects the October 30, 2026 launch build as documented through November 2, 2026. Spot an error? Email [email protected].
Related Articles
bosses
Queen's Domain Dagoom the Sea King: Boss Fight Guide
Dagoom the Sea King boss in Queen's Domain Obmuer Temple: Royal Guard gates, poison pools, Toxic Serfs, rewards, and Treacherous Baleen achievement.
bosses
Queen's Domain Necronomicon Boss: Tower Fight Guide
Beat The Necronomicon in Queen's Domain: Forbidden Archives location, book and goat phases, throwing weapons, Acid Vial, Hell Transcribed, and rewards.
guides
Queen's Domain Achievements Guide: All 53 Steam Trophies
All 53 Queen's Domain Steam achievements grouped by story, exploration, combat, and collections—with official unlock wording from launch-week sources.
Was this helpful?
Thanks for the feedback!