
Queen's Domain Obmuer Temple Walkthrough: Slates and Keys
Queen's Domain Obmuer Temple route: four Triangular Slates, Trident Keys, Wind Gem 3, Royal Guard minibosses, Dagoom the Sea King, and last gargoyle beacons.
FAQ
Where do you begin the Obmuer Temple walkthrough?
How many Triangular Slates does Obmuer Temple need?
What are Trident Keys used for in Obmuer Temple?
Which boss is at the end of Obmuer Temple?
How do the Tower of Knowledge beacons tie to Obmuer Temple?
This Queen’s Domain Obmuer Temple walkthrough follows the route from Aganmi’s Camp through the four Triangular Slates, the Trident Key doors, and the Royal Orbewa Guard to Dagoom the Sea King, then sets up the gargoyle beacons that open the Tower of Knowledge.
Obmuer Temple is Queen’s Domain’s second major region: flooded Orbewa ruins, slate-locked doors, reusable Trident Keys, and the route that finishes the three gargoyle beacons for Tower of Knowledge. You should arrive with Holy Sword Endu, the Azure Torch, and at least two Wind Dashes from the Isle of Neasied loop.
What Should You Do First at Aganmi’s Camp?
Save at Aganmi’s Camp monument. Aganmi (Iryupe Raiders) asks you to find his missing crew—full crew locations were not documented in launch-week walkthroughs; treat that as optional lore.
Combat tips for the opening flood:
- Coelacuda fish punish swimming; aggro with throwing daggers from dry tile.
- Wind Dash over gaps on submerged walkways.
- Red Nibblers swarm in packs—kite backward along the path.
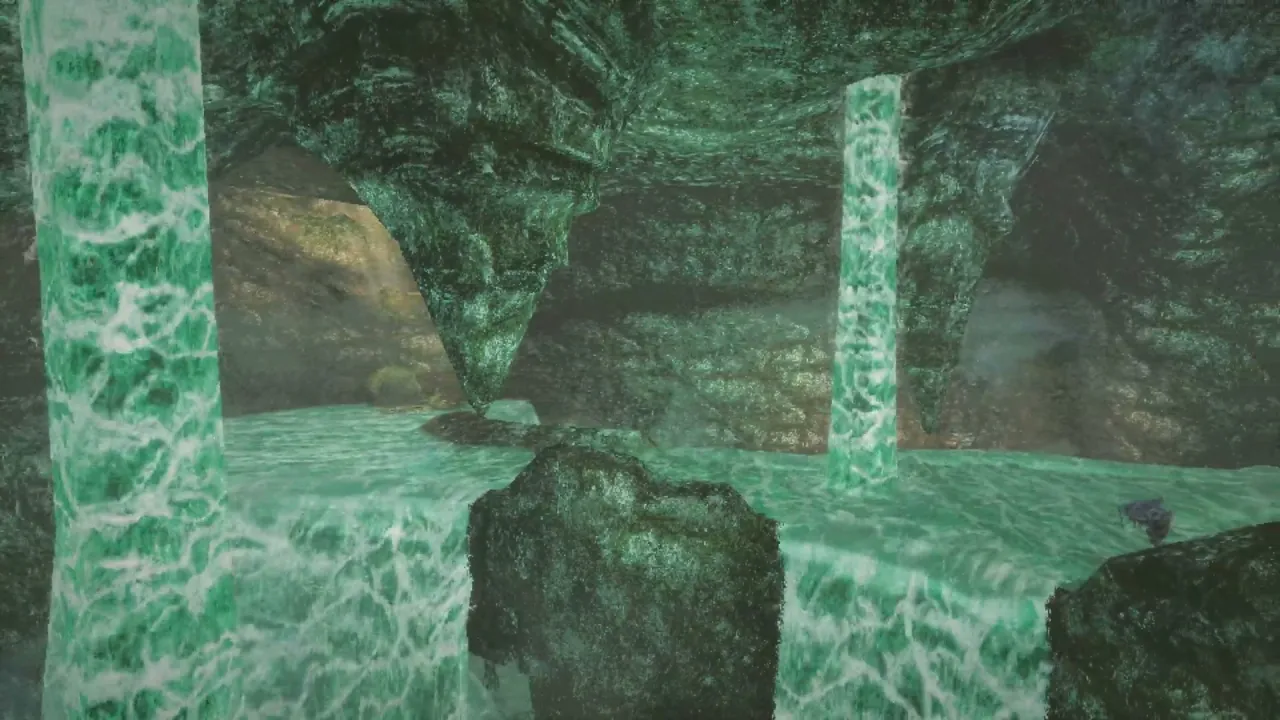
Where Are the Four Triangular Slates?
All four Triangular Slates fit the sealed door beside the down ramp from the statue Trident pickup. The table below matches cross-checked launch walkthroughs.
| # | Landmark directions | Notes |
|---|---|---|
| 1 | Through the round tower fork, left path | On a rock; Skeletal Warrior and Skeletal Soldier may spawn—pull back to the tower for space |
| 2 | Right loop around tower, under-ramp barnacle room, up ramp, dash over broken wall | Barrel under ramp may hold an Elixer; Aquatic Star Lizard for shop loot |
| 3 | Shallow water southwest of save point | Dash past fallen pillars behind Glaucusions |
| 4 | Northeast distant platform | Skeleton ambush in tight quarters—double-dash out and snipe with torch and daggers; two Ancient Coins on platform |
Insert all four at the temple door, save at Cave Entrance Obmuer Temple monument inside, then descend.
How Do Trident Keys Open the Flooded Lower Caves?
Past Homopiscium fish-men and burrowed Chilopoda, drop into the lower flooded chamber (multiple Glaucusions).
- Pick up Trident Key–Sapphire embedded in the wall.
- Use it on the left one-slot door (right door needs three keys—blocked until after Tower of Knowledge progress).
- Save at the inner monument, then Wind Dash to the left circular passage (miss the dash and you respawn on the upper ledge).
Inside the left route: clear Barnacle, Baleful Chilopoda, and Hardshell Meganeura, then a Toxic Homopiscium trio at the far ledge. On the upper stairs grab Trident Key–Emerald from a rock, plus an Elixer in a skeleton lap.
Where Is the Third Wind Gem?
Northwest of the emerald key area, dash a gap to a platform holding the third Wind Gem—your third consecutive Wind Dash. The large interior pit later expects three dashes as well.
Read Obmuer Temple Explorer’s Note II nearby, then continue south/southeast through ambush corridors to a lever that raises stairs and an Emerald-keyed gate leading to Sacred Cistern monument.
Key reuse loop: Pull the lever side paths to recover Sapphire and Emerald keys after opening gates—you will need them again in the prison wing.
What Happens at the Sacred Cistern and Prison Wing?
Cross the cistern with triple dashes. Right-hand pillar switch takes a Trident Key; wait for the moving pillar—do not ride it underwater—drop into the side hole for the Amethyst Tear Charm (+poison resist in walkthrough tables), then ride the pillar up and retrieve the key.
Fight through skeleton and fish rooms to Prison Corridor monument. Explore gated side rooms (two-key and one-key gates), pulling levers and reclaiming keys.
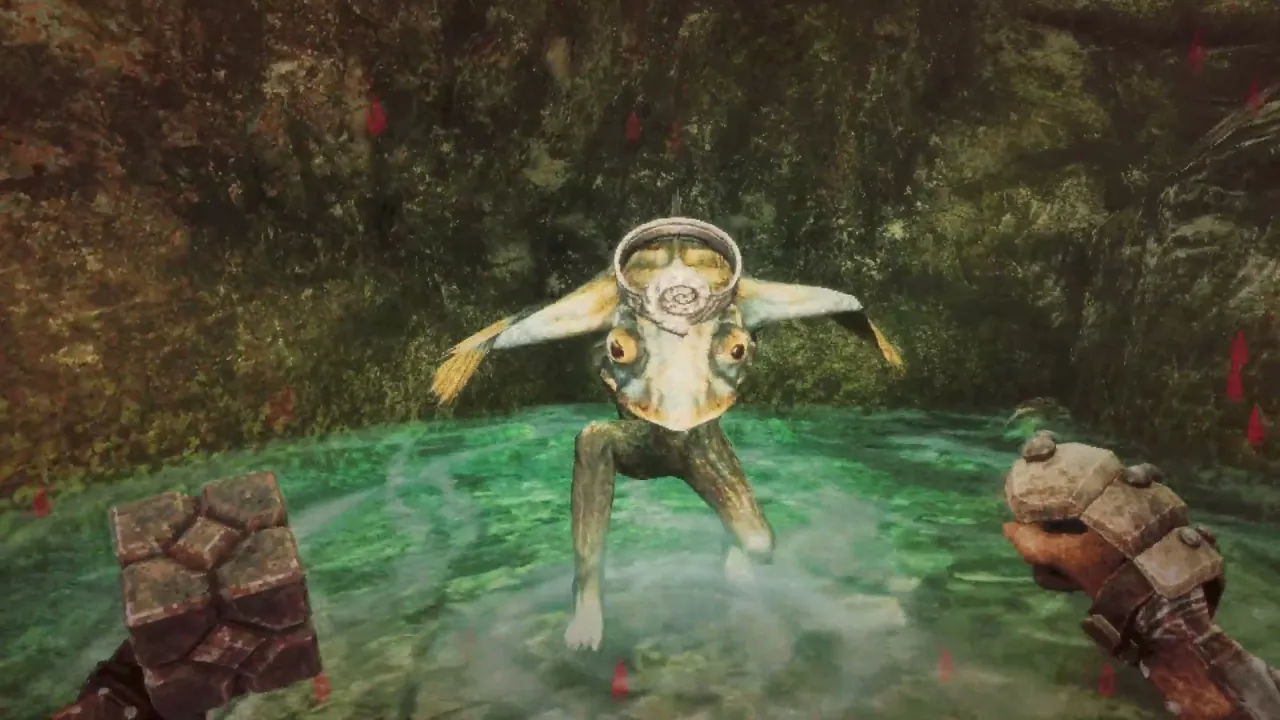
Which Minibosses Unlock Dagoom’s Arena?
Central lit-torch passage opens a cavern with a ruby Homopiscium statue (no interaction yet) and aquatic loot (Gold Conch Necklace behind stairs).
Three Royal Orbewa Guard fights gate the circular boss door:
| Miniboss | Arena cue | Reward item |
|---|---|---|
| Yepo | Southwest jump-down waterway | Silver Conch Necklace |
| Erda | North hook with Toxic Homopiscium ambush | Silver Nautilus Crown |
| Wami | Left cavern path uphill | Silver Scallop Tiara |
Save before dropping into the circular arena. The boss is Dagoom the Sea King—melee stomps, poison clouds, Toxic Serfs, and whirlpool traps. Drops include a Silver Duck Figurine for shop stock; a monument sits just past the fight with an elevator out.
What Should You Collect on the Way Out?
Post-Dagoom elevator sequence:
- Ride elevator top/bottom timing to dash into a prison hole for another Travel Crystal Fragment.
- Two-key tunnel chest: Silver Fish Treasure plus permanent Roasted Poultry platter.
- Strange Silver Etched Skull under the elevator platform (story item later).
- Surface path: extra Throwing Dagger chest in a pit worth the drop.
Meet Erma, Matron of the Deep in a left cave path—she requests Orbewa Eggs across zones (achievement Sacred Waters on GameFAQs). One egg sits on a staircase you can reach with three dashes from Cemetery Precipice after this section.
How Do You Finish the Gargoyle Beacons Here?
| Beacon | Landmark |
|---|---|
| 2 | Stairs left of Erma’s cave exit (some guides also cite an upper-elevator northern alcove on the same surface loop) |
| 3 | Fast-travel spire to Isle of Neasied, lever gate, right-path gargoyle after Dagoom exit |
Activate the fast-travel spire, return to the isle for Chef Gagi intro food and the third outdoor gargoyle, then use wooden elevators linking the starting camp to that spire.
When all three bells have rung, the Tower of Knowledge doors unseal—continue the tower walkthrough or grab the Orbewa Egg dash from Knight’s Encampment monument on the return loop.
Puzzle recap: puzzle solutions. Weapon upgrades: weapon tier list.
Sources
- TechRaptor — Obmuer Temple walkthrough — slates, keys, Royal Guards, Dagoom exit, beacons
- Tpose Gaming — Puzzle guide — dash gates, beacon cross-check
- GameFAQs — Achievements — Sacred Waters, Ocean Walk text
Based on 2026-11-02 launch-week guides; corrections welcome at [email protected].
Related Articles
bosses
Queen's Domain Dagoom the Sea King: Boss Fight Guide
Dagoom the Sea King boss in Queen's Domain Obmuer Temple: Royal Guard gates, poison pools, Toxic Serfs, rewards, and Treacherous Baleen achievement.
bosses
Queen's Domain Necronomicon Boss: Tower Fight Guide
Beat The Necronomicon in Queen's Domain: Forbidden Archives location, book and goat phases, throwing weapons, Acid Vial, Hell Transcribed, and rewards.
guides
Queen's Domain Puzzle Solutions: Books, Doors, and Keys
Sourced Queen's Domain puzzle solutions by area—Crypt dagger switch, Gargoyle beacons, slates, Trident keys, Tower books, and secret walls.
Was this helpful?
Thanks for the feedback!