
Queen's Domain Isle of Neasied Walkthrough: Shore to Obmuer
Text route for Queen's Domain Isle of Neasied: beach start, Endu Shrine, Holy Sword Endu, Azure Torch, first beacon, and the dash path to Obmuer Temple.
FAQ
Where does the Isle of Neasied walkthrough start in Queen's Domain?
How do you open the crypt doors on the Isle of Neasied?
Where is the Shrine Guardian fight on the Isle of Neasied?
When can you enter the Tower of Knowledge from the isle?
How do you reach Obmuer Temple from the Isle of Neasied?
Queen’s Domain drops you on the Isle of Neasied with a compass but no map. This walkthrough is a landmark-based route from the crash site through Holy Sword Endu, the Azure Torch, and the dash chain that lands you at Obmuer Temple—without inventing coordinates. For saves and fast travel rules, see save and fast travel.
What Does the Isle of Neasied Cover?
The island is the first overworld hub: beach camp, coastal loops, an underground crypt, the Endu Shrine boss gate, cemetery highlands, and the sealed Tower of Knowledge door. Obmuer Temple begins once you reach Aganmi’s Camp; the tower itself stays locked until three outdoor gargoyle beacons burn (you will finish two of those in Obmuer Temple). Puzzle details for beacons and crypt switches live on puzzle solutions.
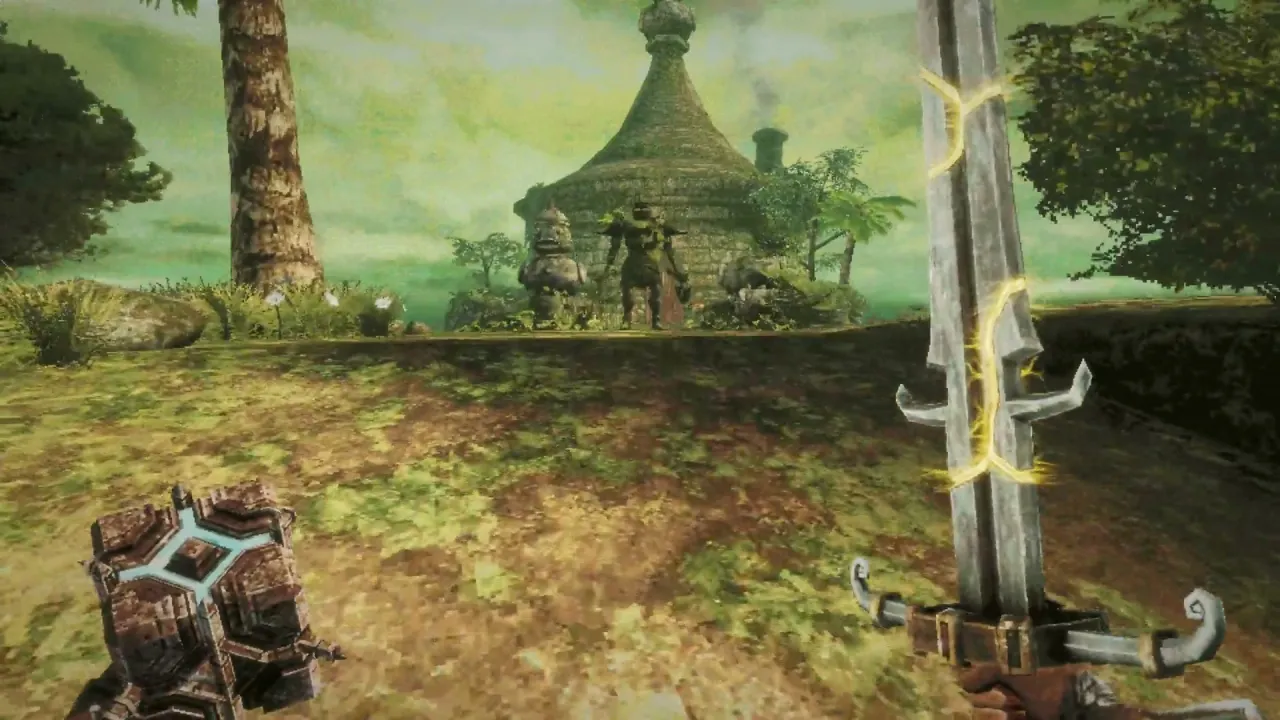
Where Do You Go Right After the Shipwreck?
From the south shore, do not enter deep water—you take damage and wash back. Go north through the rock gap, then right along the road to Commander Ekonta’s camp (two armored men; Ekonta is on the left).
| Step | Landmark | What you get |
|---|---|---|
| 1 | Herbs behind the resting soldier | Dried Herbs (auto-equips) |
| 2 | Crate beside Ekonta | Elixers (needs charged swings, not spam-clicking) |
| 3 | West barricade past camp | Another Dried Herbs bundle |
| 4 | Barricade beyond | First Crystal Monument (Knight’s Encampment area) |
Ekonta gives the Rusted Short Sword and states King Abraon entered the large temple behind camp with no entry yet. Rest and save at the monument before pushing uphill.
How Do You Grab the Dagger Belt Without Fighting Everything?
At the monument fork, the left stairs lead to Ratty Bugs, Meganeura, and wall Forest Eyes you cannot melee yet. Instead:
- Take the first right off those stairs through a rock gap.
- Sprint past the Ratty Bugs toward the two small islands offshore.
- Jump island to island and grab the Dagger Belt on a branch (recharging throwing daggers).
Backtrack with daggers to snipe Forest Eyes, then clear the coastal tower for the Rusted Spear chest (pierce weapon with a backward dash special). Poisonous Chilopoda guard that tower—kite with daggers.
Which Crypt Route Yields the Endu Shrine Gate Key?
From the northwest overlook above the monument, drop down, clear Forest Eyes, and open two crypt doors via dagger switches (diamond holes). Loot includes Ancient Coins, a Wooden Club, the Life Charm, and the Endu Shrine Gate Key on a central underground shrine.
Take the elevator at the crypt’s far side back to the surface hill above the Knight’s Encampment monument—save again.
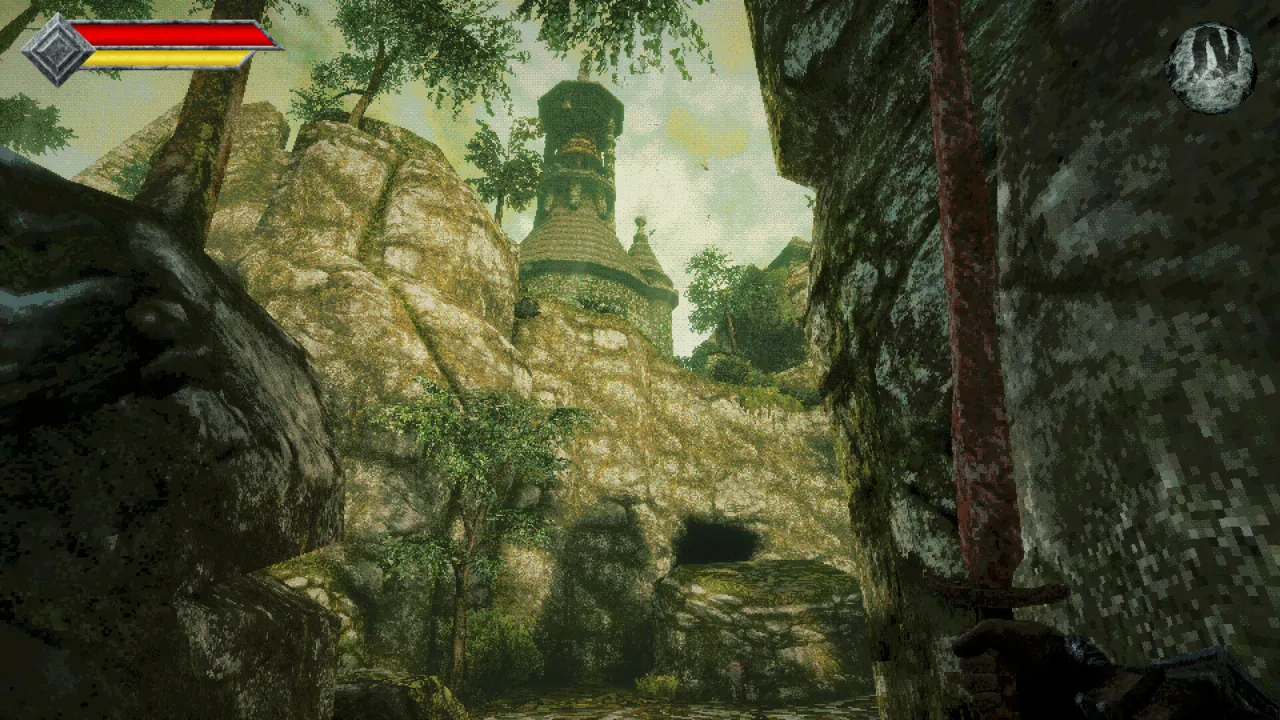
How Do You Clear the Endu Shrine and Holy Sword Endu?
Walk back toward the Dagger Belt islands; just beyond them is a fenced Endu Shrine with a guard at the gate.
- Use the Endu Shrine Gate Key.
- Fight the Shrine Guardian (large skeleton with a heavy overhead swing—create distance when it raises the blade).
- Interact with the defeated guardian for the Stone Duck Figurine, then take Holy Sword Endu.
Endu adds Wind Dash (default Ctrl in PC guides) usable even when another melee weapon is active. Full upgrade path—including Wind Gems—is on Holy Sword Endu and Wind Gems.
Return to the Crystal Monument; the duck figurine triggers Umbada’s shop teleporter. Grab free herbs and break barrels before stepping back.
Where Is the Azure Torch and the First Tower Beacon?
From Cemetery Precipice monument (dash across the gap northeast of the cemetery route), backtrack northwest to cliff tombstones, drop to the torch bridge near Endu Shrine, dash across, then go east uphill and north to the Tower of Knowledge doors.
- Pick up the glowing Azure Torch (fireball secondary once its blue charge gem fills).
- Read the gargoyle tablet: light three island beacons with azure flame; three bell rings unseal the tower.
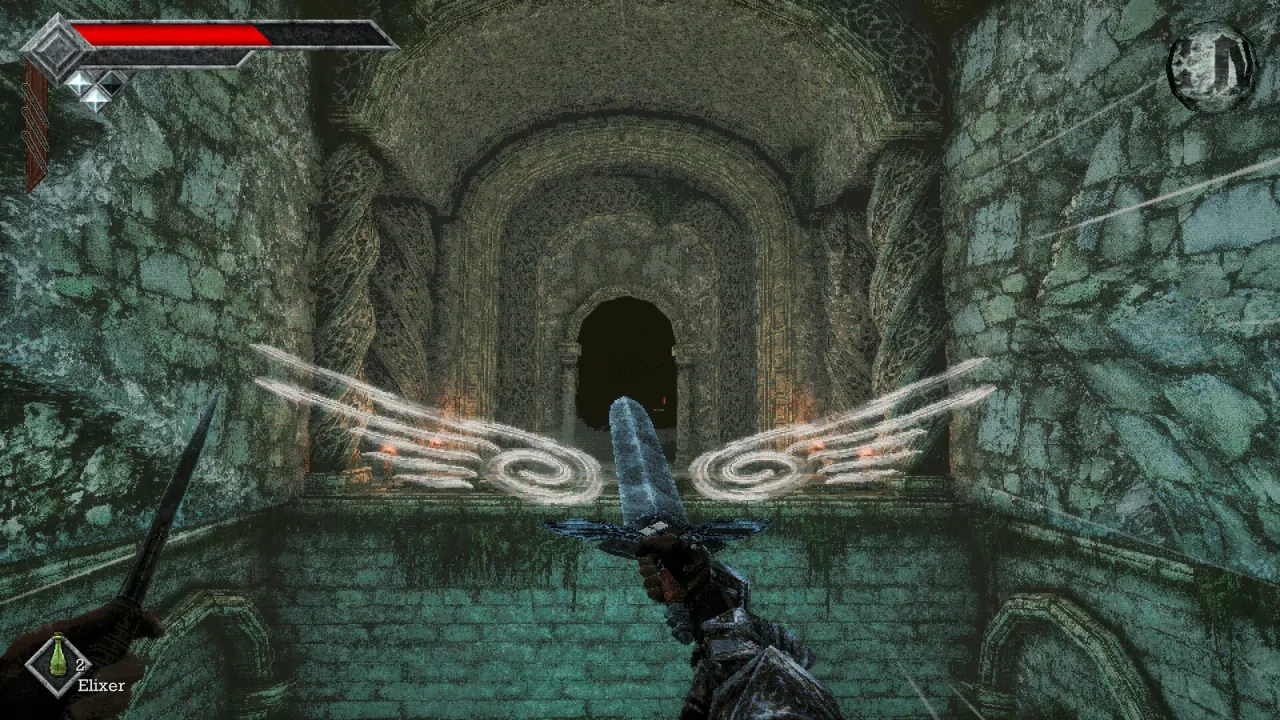
Side trip south of the torch: a tilted tower crate holds a Travel Crystal Fragment (one-use return to last monument—see save and fast travel). An Orbewa Egg glows on a high ledge you cannot reach until later Wind Dashes.
Second Wind Gem: From Cemetery Precipice, follow the east wall path to a broken tower holding the second gem (second dash diamond on your HUD). The western broken bridge toward Obmuer needs two Wind Dashes—plan routes accordingly.
First outdoor beacon: East from Cemetery Precipice along the raised road, past a blue lantern crate, double-dash to broken stairs, kill skeletons, and swing the Azure Torch into the gargoyle mouth. A lit obelisk confirms it; two more beacons wait in Obmuer and a return trip to the isle.
Which Route Takes You to Obmuer Temple?
From the beacon plateau, face west and dash across stone pillars to headstones, then curve along the wall—expect Skeletal Archers (torch fireballs help). Optional cliff fight: burrowed Chilopoda and a tough Mossy Golem; no fall damage lets you bail off the edge.
Drop southwest toward a distant tower for a Panacea, then return to Knight’s Encampment monument. Climb the left stair path past the round tower, light the second obelisk visible southwest (still locked until all three bells ring), and double-dash over the broken bridge to Aganmi’s Camp—your Obmuer Temple entry monument.
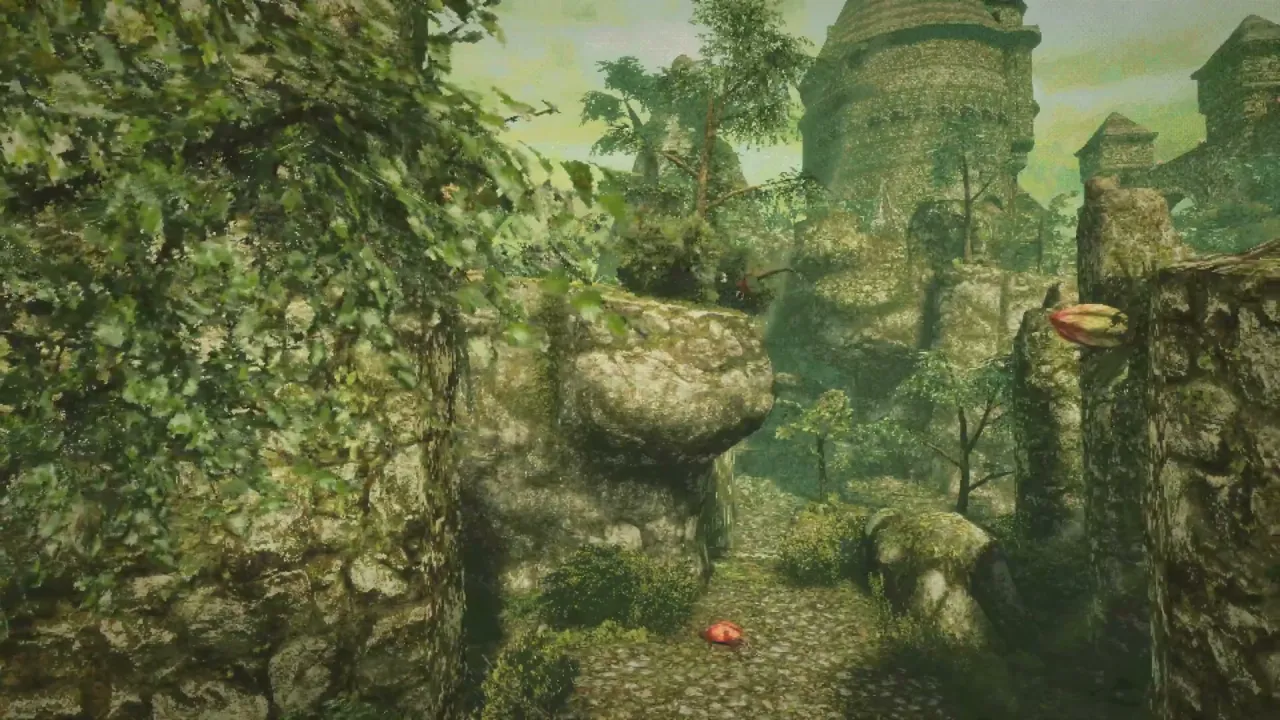
That camp handoff continues in Obmuer Temple walkthrough. Tower access after all beacons: Tower of Knowledge.
Sources
- TechRaptor — Isle of Neasied walkthrough — shore-to-Obmuer landmark route
- Tpose Gaming — Puzzle guide — dagger switches, dash gates, beacon placement cross-check
- Whisper of the House — Holy Sword Endu — Wind Gem socket rules
This route reflects the 2026-11-02 launch-week PC walkthroughs; spot a mistake? Email [email protected].
Related Articles
bosses
Queen's Domain Shrine Guardian: Location, Attacks, Rewards
Shrine Guardian boss guide for Queen's Domain: Endu Shrine fight, overhead cleaver tells, Rusted Spear tips, Stone Duck Figurine, and Holy Sword Endu.
guides
Queen's Domain Beginner Guide: Combat, Saving, First Steps
Queen's Domain beginner guide: stamina combat, charge attacks, Endu dashes, saving at Crystal Monuments, and what to do first on the Isle of Neasied.
guides
Queen's Domain Holy Sword Endu: Location, Wind Dash
Holy Sword Endu in Queen's Domain: Shrine Guardian reward, Wind Dash traversal, Wind Gems, Level 10 Soul Bound Endu evolution, and Storm Gem ultimate.
Was this helpful?
Thanks for the feedback!