
Queen's Domain Necronomicon Boss: Tower Fight Guide
Beat The Necronomicon in Queen's Domain: Forbidden Archives location, book and goat phases, throwing weapons, Acid Vial, Hell Transcribed, and rewards.
FAQ
Where is The Necronomicon boss in Queen's Domain?
Do you need a bow to beat The Necronomicon?
What phases does The Necronomicon have?
What do you get after defeating The Necronomicon?
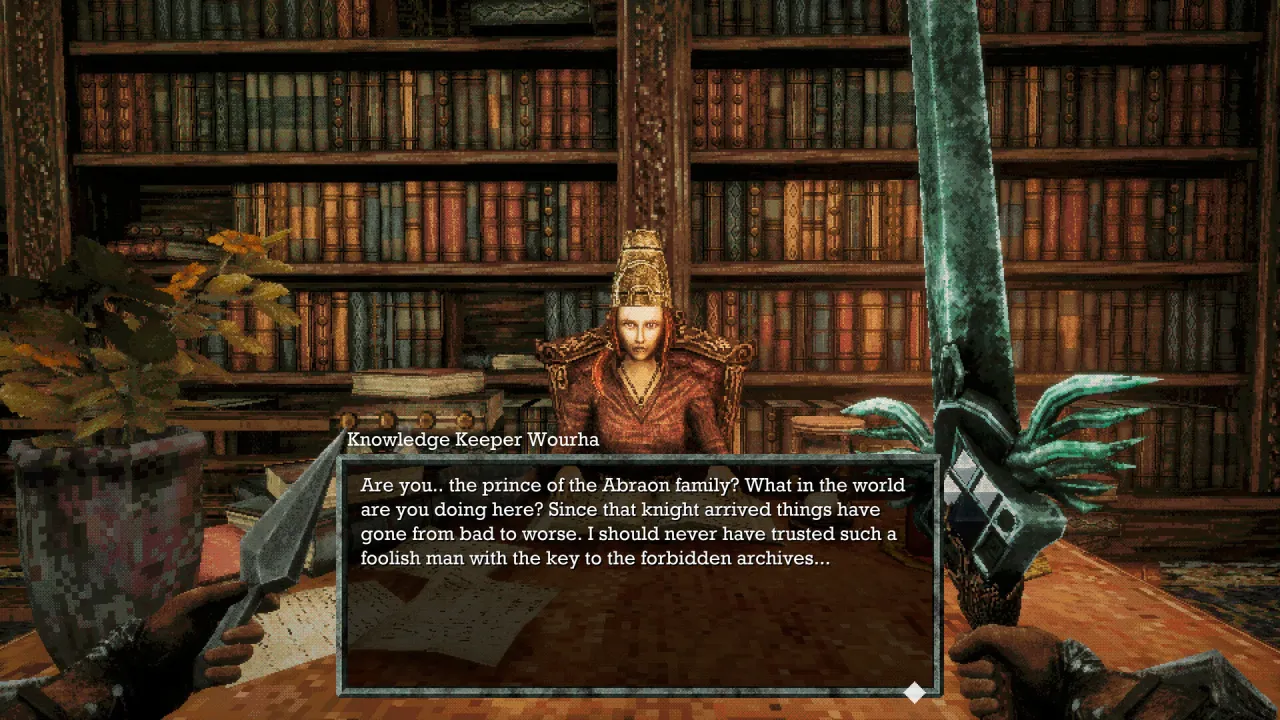
The Necronomicon is the signature boss of the Tower of Knowledge—a floating, face-bound grimoire in a blood-red chamber that punishes reckless melee. You reach it after the Gargoyle beacon quest, the interior Gargoyles 3 and 7 puzzle, and Budaen’s Forbidden Archives Key. Unlike the Shrine Guardian spacing test or Dagoom attrition, this fight rewards controlled range, status cleanup, and patience. Save at the Crystal Monument just before the Archives gauntlet.
Where Does The Necronomicon Fight Take Place?
Typical Tower sequencing:
- Light all three island Gargoyle beacons with the Azure Torch (see Isle of Neasied and puzzle solutions).
- Inside, solve the numbered Gargoyle balcony by igniting statues 3 and 7 only—wrong torches spawn Book Bugs.
- Climb toward Knowledge Keeper Wourha and the Storm Gem pickup, then use Wind Dash to hit the lower switch that rotates the staircase.
- Ride the repositioned elevator to Budaen, receive the Forbidden Archives Key, and unlock the Archives path to the arena.
Save before dropping into the fight.
What Does The Necronomicon Do in Combat?
Launch-week write-ups agree on a ranged-first boss with form changes:
| Observation | Book phase | Goat-like phase |
|---|---|---|
| Default posture | Floating book firing ranged magic and status effects | Fleshy/goat-like body; skip melee races |
| Melee window | Book drops; close for a short exchange, then retreat | Dodge until the book phase returns |
| Status risk | Heal only after creating distance | Sticky/Binding can disable throws and magic |
Constant face-tanking loses to repeated status. Rotate basic daggers, Piercing Daggers, Occult Knives, and Azure Torch burn without chasing the book around the arena.
Official Steam screenshot material shows the HUD name The Necronomicon, radial red rays, and a bow in the player’s hand. That confirms bows can be equipped in the arena, but no second guide we fetched recommends bows over throws—treat bow footage as promotional loadout, not a verified weakness type.
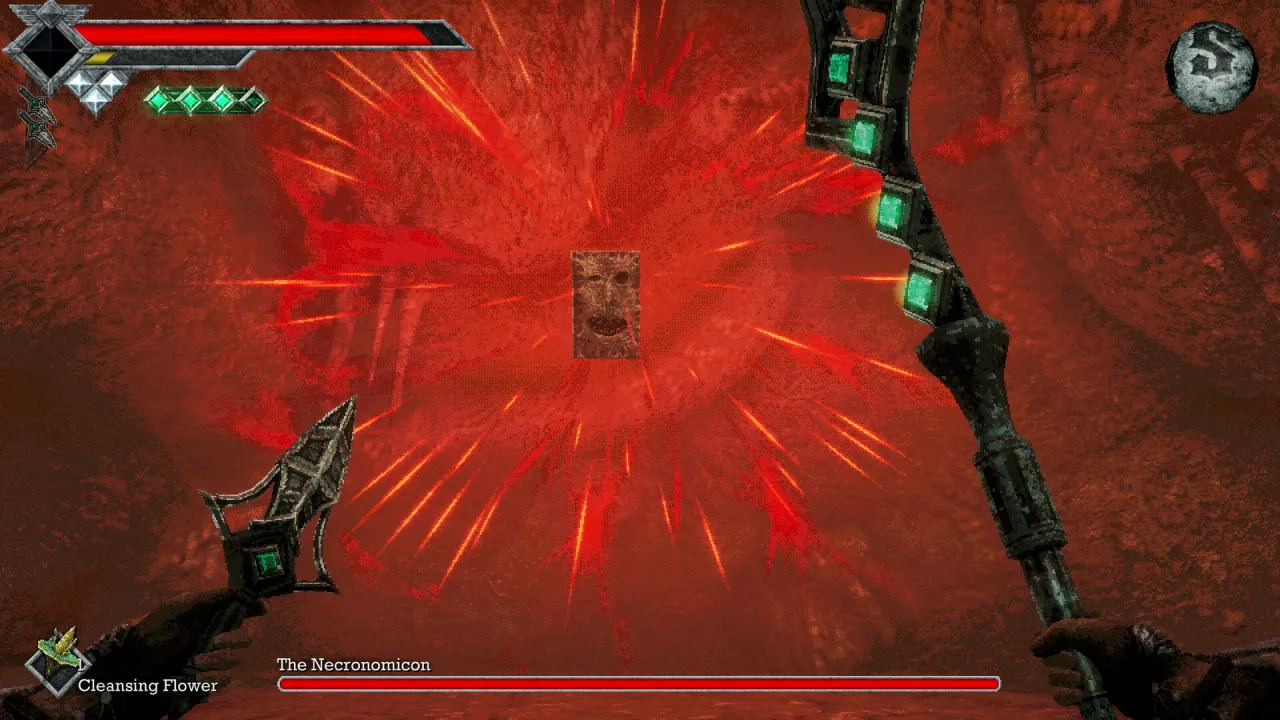
Bestiary tables list The Necronomicon at 3,000 Life Points, 31 Attack Power, and Normal defenses under Tower of Knowledge, with 4,000 EXP. Related entries name Necrotic Baphomet, Necrotic Eye of Balor, and Necrotic Bael at the same stats tier—we only mention them because the bestiary places them in the Tower; this article does not claim they appear in the same single arena without video proof.
How Should You Prepare and Fight?
- Enter with throwing weapons ready and Azure Torch available for safe burn windows.
- Stay at range while the book applies status; chip with throws instead of sprinting into melee.
- When the book falls or lands within reach, land a brief melee combo, then disengage before ranged pressure resumes.
- During the goat-like form, prioritize dodging and healing—not DPS races.
- Pop Elixers only after you create space, because ranged shots punish drinking in the boss face.
Carry cures for Sticky/Binding, and do not burn every charge attack during untelegraphed goat movement.
Link prep back to island systems: beginner guide stamina rules, Holy Sword Endu dashes for the staircase shortcut, and puzzle solutions for Gargoyle plaques.
Should you farm Book Bugs before the boss?
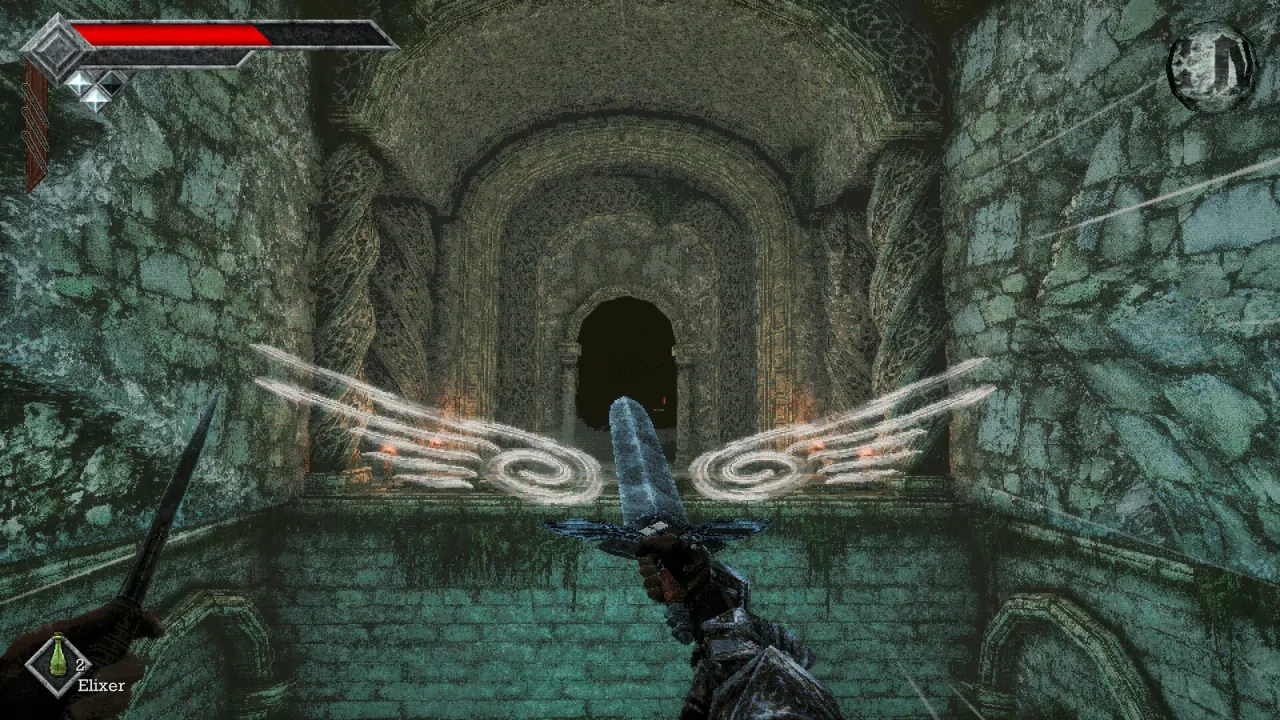
Lighting wrong interior Gargoyles spawns Book Bug packs without progressing the Archives key route. Treat those fights as optional XP drains unless you need proficiency; save consumables for the Archives stretch and the Necronomicon itself.
What Rewards Unlock After the Necronomicon Falls?
| Reward | Detail |
|---|---|
| Hell Transcribed achievement | GameFAQs achievement list |
| Acid Vial | Acid already coats basic throwing daggers—no manual equip |
| Golden Duck Figurine | Shop expansion at Umbada; counts toward figurine collection goals |
| Tower backtracking | Dissolve fleshy walls to reach Deimpo Mausoleum routes; Budaen is dead afterward, changing NPC paths |
After the fight, revisit Tower passages for gear hidden behind barriers tied to optional equipment hunts before you leave the region.
Sources
- Whisper of the House — Tower walkthrough — route order, fight phases, Acid Vial, figurine
- Tpose Gaming — Boss guide — throws, status, beacon flow
- TechRaptor — Bestiary — Necronomicon stat row
- GameFAQs — Achievements — Hell Transcribed text
- Steam store screenshots — HUD boss name with bow loadout
Compiled for the 2026-11-02 launch build. Report mistakes to [email protected].
Related Articles
bosses
Queen's Domain Dagoom the Sea King: Boss Fight Guide
Dagoom the Sea King boss in Queen's Domain Obmuer Temple: Royal Guard gates, poison pools, Toxic Serfs, rewards, and Treacherous Baleen achievement.
bosses
Queen's Domain Shrine Guardian: Location, Attacks, Rewards
Shrine Guardian boss guide for Queen's Domain: Endu Shrine fight, overhead cleaver tells, Rusted Spear tips, Stone Duck Figurine, and Holy Sword Endu.
guides
Queen's Domain Achievements Guide: All 53 Steam Trophies
All 53 Queen's Domain Steam achievements grouped by story, exploration, combat, and collections—with official unlock wording from launch-week sources.
Was this helpful?
Thanks for the feedback!