
Queen's Domain Beginner Guide: Combat, Saving, First Steps
Queen's Domain beginner guide: stamina combat, charge attacks, Endu dashes, saving at Crystal Monuments, and what to do first on the Isle of Neasied.
FAQ
Does Queen's Domain have codes or cheats?
Is Queen's Domain multiplayer or co-op?
How long is Queen's Domain?
What platforms is Queen's Domain on?
This Queen’s Domain beginner guide covers the systems every walkthrough assumes you already know. The game drops you on the Isle of Neasied as a prince searching for a missing father while cultists stir around a sleeping queen. Combat looks like a stamina-action RPG, but it barely tutorials you—expect to learn by reading HUD cues and dying. Below you also get the early route that unlocks the shop, Holy Sword Endu, and safe saving.
What Kind of Game Is Queen’s Domain?
Freshly Baked Games and Future Friends Games describe Queen’s Domain as a retro-fantasy action RPG in the King’s Field tradition: first-person exploration, dense interconnected areas, and deliberate melee. The Steam page highlights a stamina meter, charge attacks, weapon-specific specials, throwing weapons, character leveling, and more than fifty melee weapons to find.
Launch coverage agrees the design is old-school: no quest markers, no in-game map, and minimal hand-holding. Your compass shows facing direction; landmarks and memory do the rest. For a step-by-step first region, use the Isle of Neasied walkthrough once you understand combat and saves below.
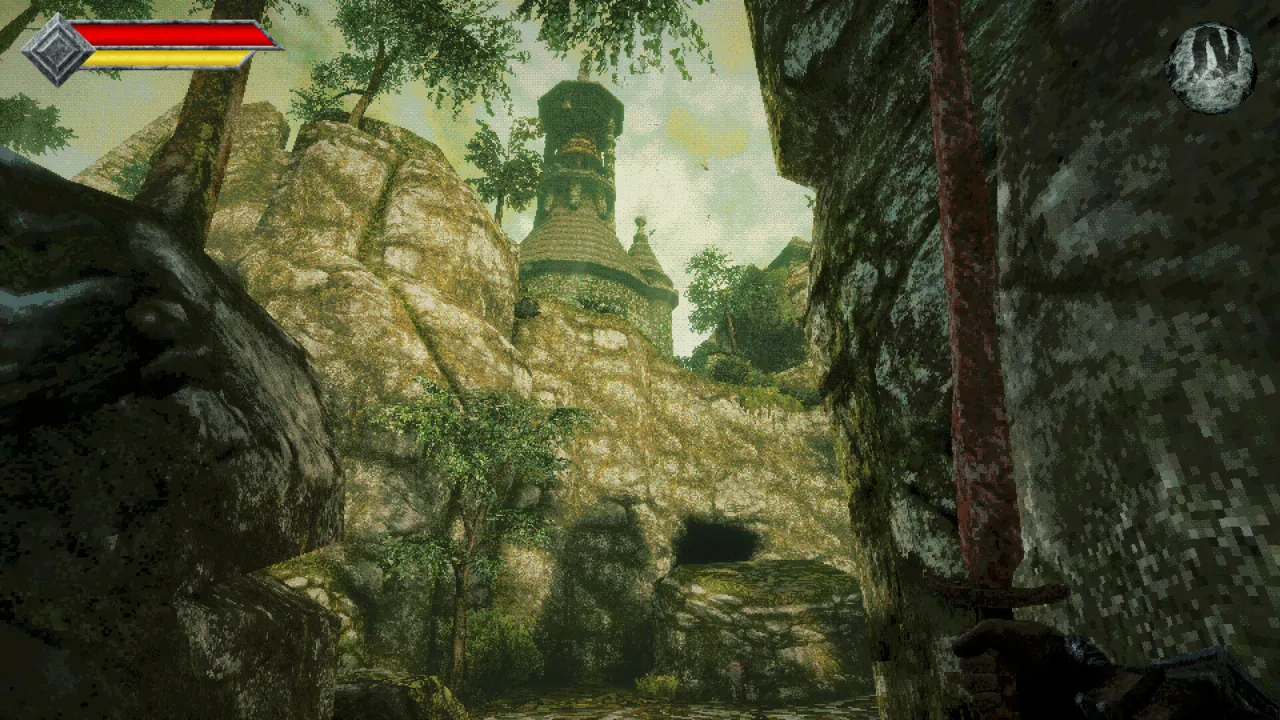
How Does the Power Meter (Stamina) Change Combat?
The yellow Power Meter under your red Life Points bar is stamina in all but name—it decides whether your swings matter.
| Situation | What happens |
|---|---|
| Full Power Meter | Melee hits deal full damage for that weapon. |
| Empty or low meter | Hits land for almost no damage, even with a strong weapon. |
| Rapid spam clicking | Meter never refills; fights turn into chip damage and long deaths. |
| Running | Drains the meter; it stops refilling until you stop sprinting. |
The intended loop is simple: strike once at full meter, create space, let the bar recharge, then strike again. Isle of Neasied walkthrough examples (breaking crates, barricades) show the same lesson—spam can take hundreds of hits; paced swings finish in a few.
Wind Dash and other specials also spend meter, so treat stamina as your damage budget, not a sprint-only bar.
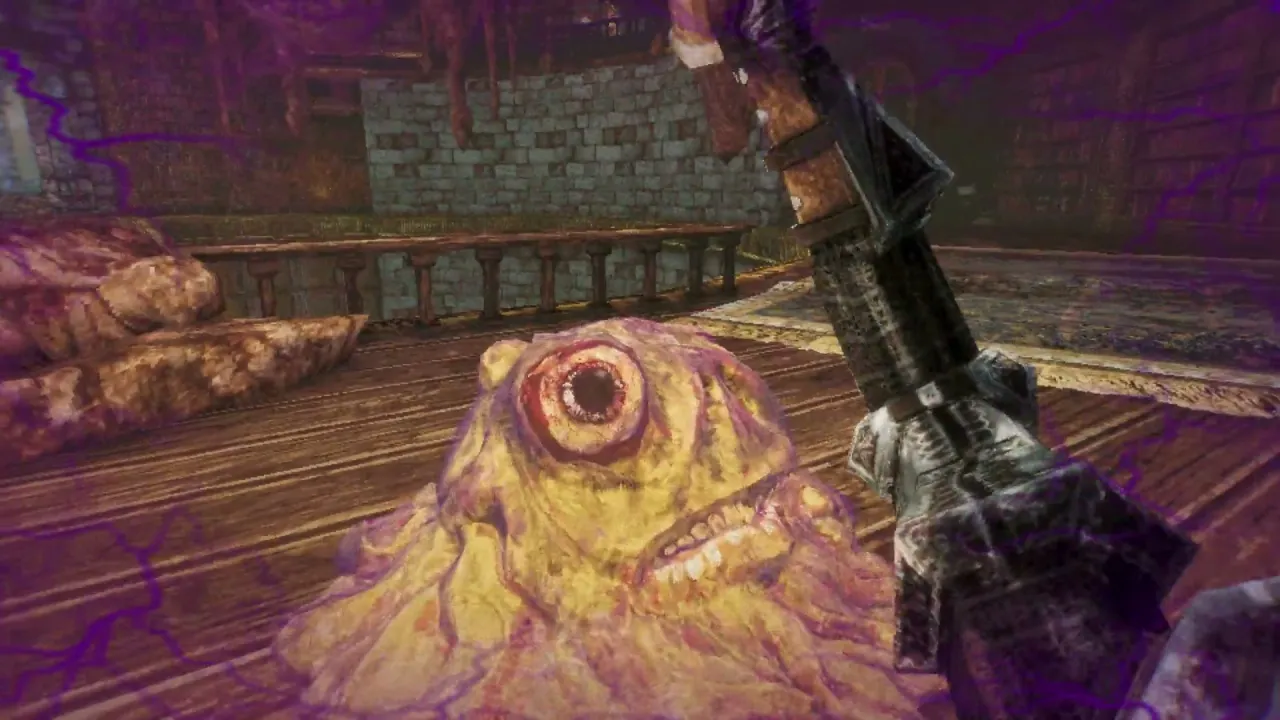
How Do Charge Attacks and Weapon Specials Work?
Charge attacks: Hold primary attack (left-click on PC) to turn the Power Meter blue. A fully blue meter releases a stronger melee hit. You can begin charging while the meter is still refilling—you do not need to wait for 100% yellow first. Charging locks out running, Wind Dash, and throwing weapons until you release or cancel.
Weapon specials: Each melee weapon has its own secondary pattern—Rusted Spear’s backward dash stab, Hand Axe’s leaping smash, magical weapons with separate charge gems, and so on. You may equip three melee weapons at once; time-based specials on inactive equipped weapons can still charge.
Holy Sword Endu dash: After the first boss, Endu’s secondary attack becomes a directional air dash used for gaps and combat repositioning. The dash works even when another weapon is active; details sit in the Holy Sword Endu guide.
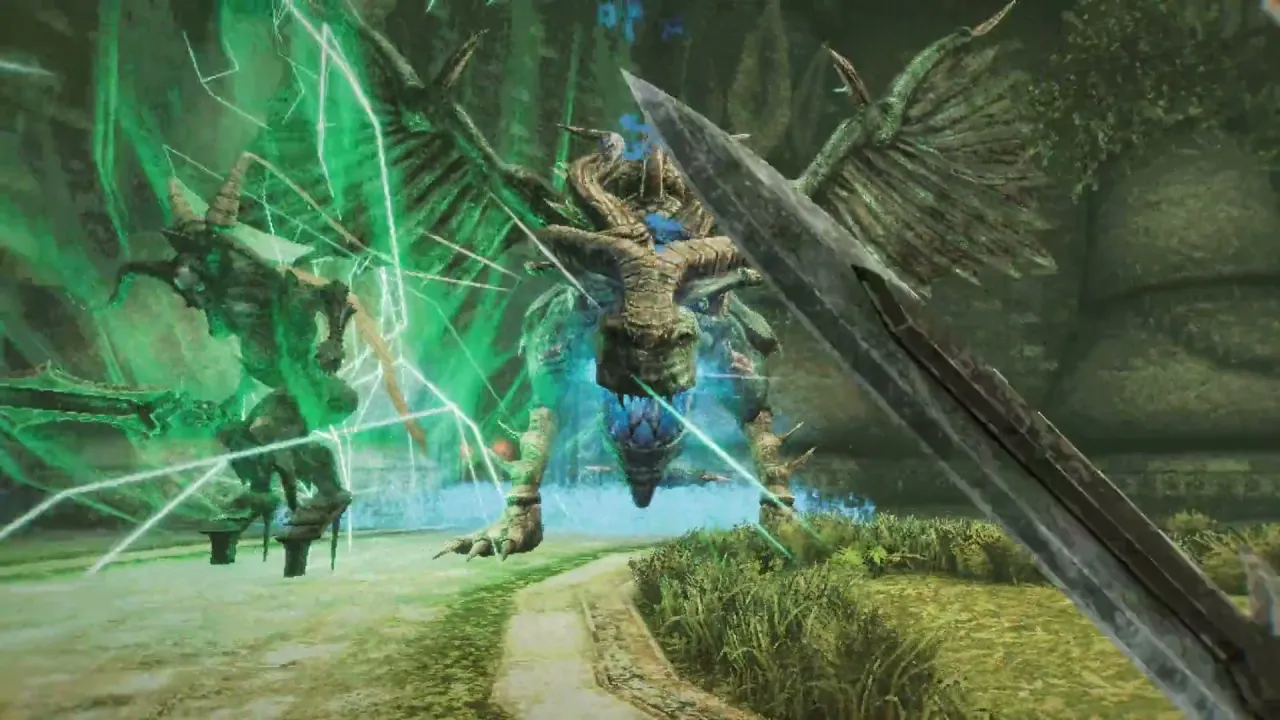
How Do Throwing Weapons Fit In?
Throwing gear uses the dagger belt charge icons at the top-left of the HUD. Early Isle of Neasied progression grants Throwing Daggers that recharge over time instead of acting like finite ammo.
Pair Rusted Spear’s retreat stab with dagger throws against archers and bugs. Later belts add separate pools (Chakram, Piercing Needles, shop unlocks). Status effect Sticky blocks throwing weapons until cured—see consumables below.
For a utility-focused ranking once you have shop access, skim the weapon tier list—but resistances still beat raw tier placement.
What Should You Do First on the Isle of Neasied?
A practical early-game order for the Isle of Neasied:
- Learn stamina on the beach crate and first enemies before rushing inland.
- Grab the Dagger Belt and Rusted Spear in the Knight’s Encampment ruins—range and retreat matter immediately.
- Collect Ancient Coins and consumables, but expect the shop only after defeating the Shrine Guardian and receiving the Stone Duck Figurine.
- Save at the first Crystal Monument behind the broken barricade; treat every monument as a checkpoint you must manually trigger.
- Clear the Crypt Key route, beat the Shrine Guardian, and swap to Holy Sword Endu at the Endu Shrine.
- Pick up a Travel Crystal Fragment in the tilted tower (single-use escape to your last monument) once you have Endu dashes.
- Head toward Obmuer Temple when Neasied shortcuts and second Wind Gem pickups open the western bridge.
What Are Common Early Mistakes?
- Face-tanking while clicking as fast as possible. You will output near-zero damage until you respect the Power Meter.
- Sprinting in every fight. Running empties stamina and delays refills; walk or strafe between committed swings.
- Resting to heal without considering respawns. Rest at a monument refills HP and clears debuffs but respawns area enemies; enemies also repopulate over time even if you skip Rest.
- Hoarding saves. Saving is free and does not penalize you—backtrack to an earlier monument if a forward path feels unsafe.
- Ignoring damage types. Enemies have resistances; carry Slash, Pierce, and Impact options (Rusted Short Sword, Rusted Spear, Wooden Club) before swapping to shop gear.
- Expecting a map. Use the compass, note obelisks and monuments, and accept wrong turns as part of navigation.
How Do You Handle Difficulty Without a Map?
- Use height and sound. Gargoyle beacons, monument glows, and boss arenas are memorable anchors when paths fork.
- Exploit shortcuts. Elevators and unlocked ramps shorten return trips after you clear an area.
- No fall damage. Walkthroughs note you can drop off cliffs to escape bad fights, then walk back—dying loses more than jumping down.
- Status items: Dried Herbs, Elixer, Panacea, Roasted Ojum Lizard, Cleansing Flower, and Radiant Fruit each counter specific debuffs listed in the in-game guide; Rest is the panic button when you lack the right herb.
- When stuck, compare your Wind Dash count to the gap ahead (Wind Gems add dashes; weapon levels do not).
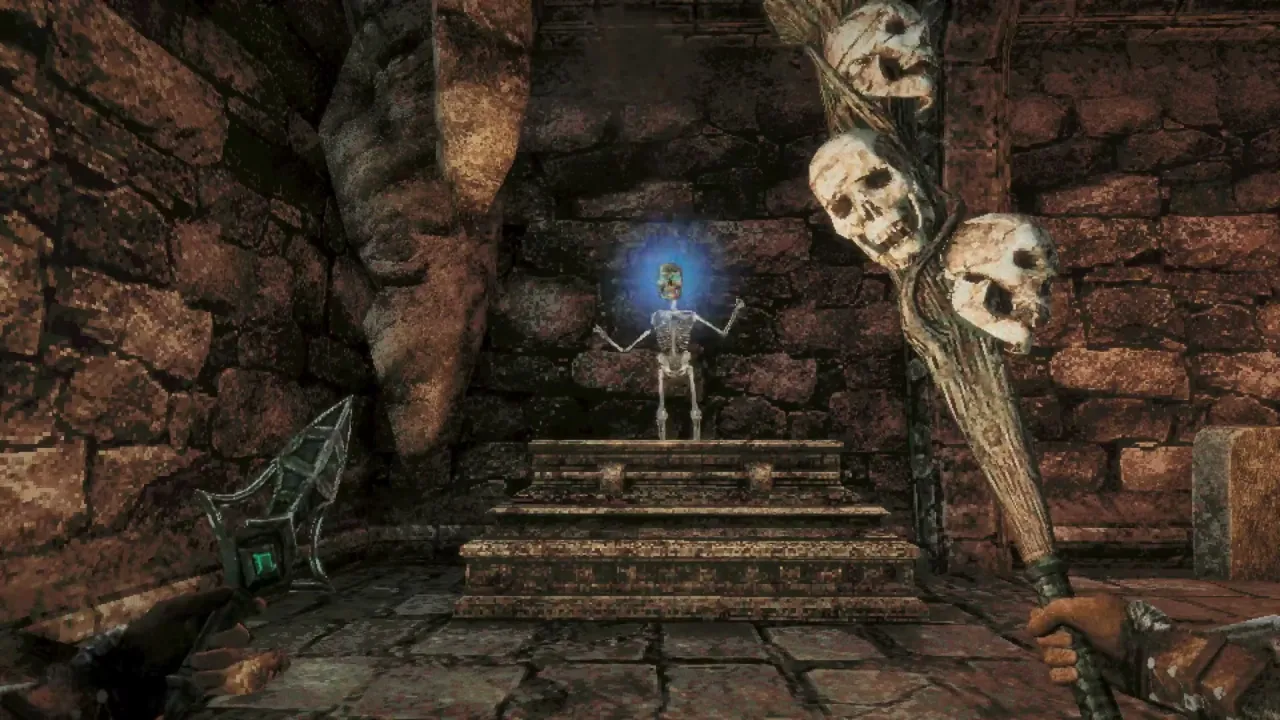
Where Does Saving Fit In?
Every Crystal Monument offers manual Save, optional Rest, and—after the first boss—Shop access through Umbada. There is no autosave. Full monument behavior, death rules, fast travel items, and Steam Cloud notes live in the dedicated save and fast travel guide.
Sources
- Steam store page — single-player, platforms, feature list
- TechRaptor — Beginner tips — Power Meter, charge attacks, three-weapon slots, death/save rules
- TechRaptor — Isle of Neasied walkthrough — early route order, no map
- TechRaptor — Weapons guide — weapon evolution rules
Information here reflects the 2026-11-02 launch build; if you spot a factual error, email [email protected].
Related Articles
bosses
Queen's Domain Dagoom the Sea King: Boss Fight Guide
Dagoom the Sea King boss in Queen's Domain Obmuer Temple: Royal Guard gates, poison pools, Toxic Serfs, rewards, and Treacherous Baleen achievement.
bosses
Queen's Domain Shrine Guardian: Location, Attacks, Rewards
Shrine Guardian boss guide for Queen's Domain: Endu Shrine fight, overhead cleaver tells, Rusted Spear tips, Stone Duck Figurine, and Holy Sword Endu.
guides
Queen's Domain Achievements Guide: All 53 Steam Trophies
All 53 Queen's Domain Steam achievements grouped by story, exploration, combat, and collections—with official unlock wording from launch-week sources.
Was this helpful?
Thanks for the feedback!